
There’s something absolutely delightful about the crispy sound of fried olives as they dance in hot oil, creating a mouthwatering appetizer that’s hard to resist. I first discovered this indulgent snack during a cozy gathering with friends, where the savory aroma of garlic filled the air and piqued everyone’s curiosity. Little did I know that these fried olives, paired with a zesty garlic aioli, would become my go-to crowd-pleaser for both casual get-togethers and more formal dinner parties.
What I love most about this quick recipe is how it transforms a simple jar of pimento-stuffed olives into a gourmet treat with just a few ingredients—and the best part? It’s so easy to make! Whether you’re looking to impress your guests or simply want to elevate your snacking game, these Fried Olives with Garlic Aioli offer an explosion of flavor that turns any occasion into a celebration. Grab your apron, and let’s dive into this deliciously crispy adventure!
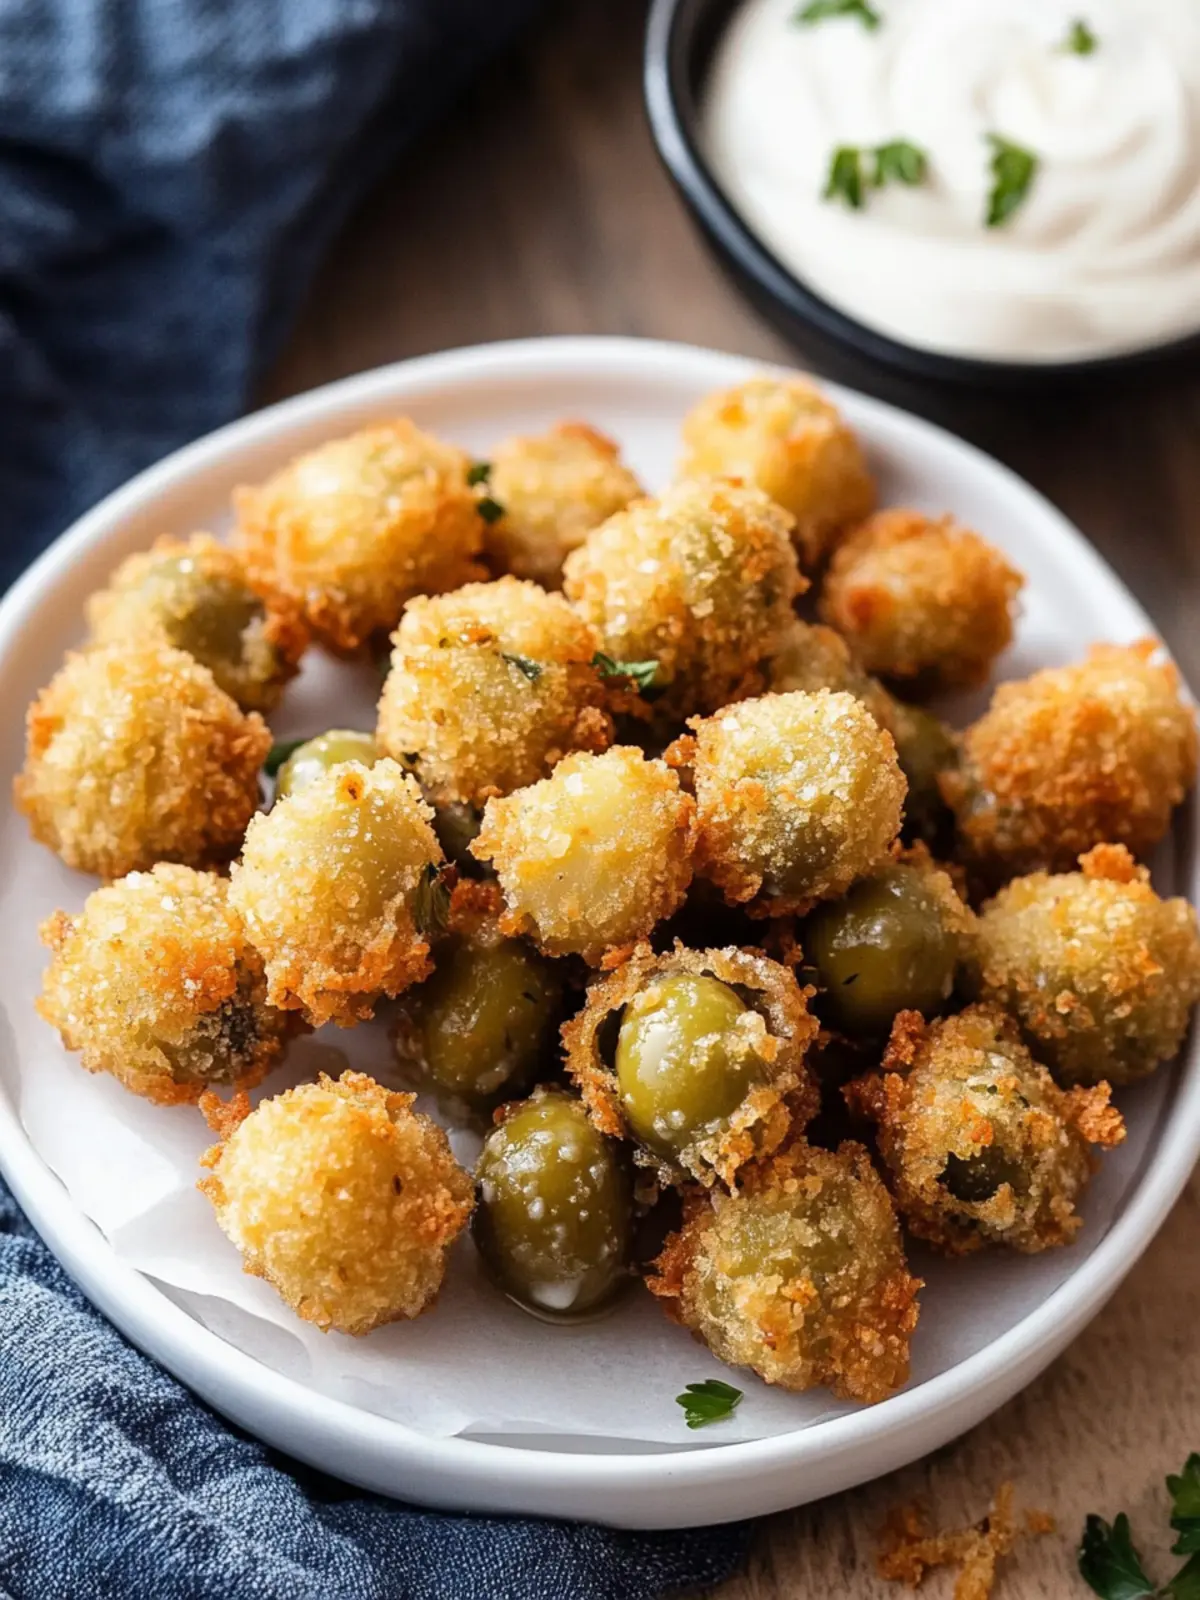
Why make Fried Olives with Garlic Aioli?
Crispy, Irresistible Snack: The moment these olives hit the hot oil, they transform into a crunchy delight, perfect for any occasion.
Flavor Explosion: Paired with zesty garlic aioli, you’ll experience an unforgettable burst of flavors that’ll have everyone coming back for more.
Quick & Easy: With minimal prep, you can whip up this gourmet treat in no time—ideal for busy days or spontaneous gatherings.
Versatile Appetizer: Perfect for game nights or dinner parties, these fried olives appeal to everyone, satisfying both cravings and gourmet desires.
Crowd-Pleasing Choice: Watch as family and friends rave about this unique snack, making it a favorite in your recipe repertoire! For other delightfully easy appetizers, check out our appetizer collection.
Fried Olives with Garlic Aioli Ingredients
For the Fried Olives
- Small pimento stuffed olives – These provide a lovely briny contrast to the crispy coating.
- Panko bread crumbs – They create a light, crispy texture that envelopes the olives beautifully.
- Flour – Coating the olives in flour helps the egg adhere better for that perfect crispy crust.
- Egg – Beaten to bind the breadcrumbs to the olives, ensuring an even coating when frying.
- Canola oil – Ideal for frying due to its high smoke point, keeping your olives from burning.
For the Garlic Aioli
- Mayonnaise – Serves as the creamy base for your aioli, bringing smoothness and depth.
- Lemon juice – Adds a zesty kick that brightens the flavor and complements the fried olives perfectly.
- Minced garlic – Infuses the aioli with rich flavor; adjust the amount based on your love of garlic!
- Salt & pepper – Season to taste for a balanced and flavorful dipping sauce.
Now that you have everything you need for these Fried Olives with Garlic Aioli, let’s move on to the fun part—cooking!
How to Make Fried Olives with Garlic Aioli
-
Prepare the aioli: In a bowl, mix the mayonnaise, lemon juice, minced garlic, and a pinch of salt and pepper. Stir until smooth, then chill in the refrigerator until ready to serve.
-
Heat the oil: Pour a couple of inches of canola oil into a dutch oven. Heat it over medium-high heat until it reaches 325-350°F on a thermometer—this is the sweet spot for frying!
-
Set up your dredging station: Arrange the flour and panko breadcrumbs on flat plates. Pour the beaten egg into a small bowl, creating an assembly line for easy coating.
-
Dredge the olives: Take each olive and roll it first in the flour, then dip it into the beaten egg. This step helps the breadcrumbs stick beautifully!
-
Coat with breadcrumbs: Gently roll the egg-coated olives in panko breadcrumbs, ensuring they’re evenly coated for that perfect crunch.
-
Fry the olives: Working in small batches, carefully place the coated olives into the hot oil. Fry them for about 2-3 minutes or until golden brown, turning occasionally for even cooking.
-
Drain excess oil: Once golden, use a slotted spoon to transfer the fried olives to a paper towel-lined plate. This will help absorb any extra oil and keep them crispy.
-
Serve warm: Arrange the fried olives on a platter and serve immediately with the chilled garlic aioli for dipping. Enjoy the delightful crunch!
Optional: Garnish with fresh parsley for an extra pop of color.
Exact quantities are listed in the recipe card below.

Make Ahead Options
These Fried Olives with Garlic Aioli are perfect for meal prep enthusiasts seeking to save time during busy weeks. You can prepare the garlic aioli up to 3 days in advance by mixing the mayonnaise, lemon juice, minced garlic, and seasonings, then refrigerating it until you’re ready to serve. Additionally, you can dredge the olives in flour, egg, and breadcrumbs a day ahead and store them in an airtight container in the fridge. When it’s time to fry, simply heat your oil and fry the prepared olives until golden brown—resulting in crispy delights that are just as delicious! This planning ensures you can enjoy a gourmet treat without the last-minute rush, making every gathering a breeze.
What to Serve with Fried Olives with Garlic Aioli?
Elevate your appetizer game with a delightful spread to complement these crispy bites of flavor.
-
Charcuterie Board: A selection of cured meats, cheeses, and crackers offers a variety of textures and flavors, perfectly enhancing your fried olives.
-
Crispy Potato Wedges: Seasoned and golden, these soft-on-the-inside, crunchy-on-the-outside wedges create a satisfying contrast to the olives.
-
Fresh Arugula Salad: The peppery notes of arugula combined with a light vinaigrette introduce freshness, balancing the richness of the fried dish.
-
Mini Caprese Skewers: Skewered cherry tomatoes, fresh basil, and mozzarella provide a burst of freshness, complementing the savory aioli beautifully.
-
Garlic Naan Bread: Soft and fluffy, this bread is perfect for dipping into any leftover garlic aioli, ensuring nothing goes to waste!
-
Sipping Wine: A chilled white wine, like Sauvignon Blanc, refreshes the palate and pairs wonderfully with both the olives and dip’s robust flavors.
-
Chocolate Dipped Strawberries: For a sweet finale, these berries offer a romantic contrast to the savory appetizer, leaving guests smiling.
How to Store and Freeze Fried Olives
Room Temperature: Fried olives are best enjoyed fresh, but if you have leftovers, store them at room temperature for up to 2 hours only to ensure safety.
Fridge: Keep fried olives in an airtight container in the refrigerator for up to 3 days. Reheat in the oven to restore their crispiness.
Freezer: For longer storage, freeze uncoated, uncooked olives for up to 1 month. Thaw before dredging, coating, and frying for a flavorful snack.
Reheating: When you’re ready to enjoy your fried olives again, reheat them in a hot oven (350°F) for about 10 minutes to regain that delightful crunch!
Fried Olives Variations
Feel free to unleash your creativity and elevate your fried olives with these tasty twists!
-
Spicy Kick: Add a pinch of cayenne pepper to your breadcrumbs for a little heat that complements the brininess beautifully.
-
Herb-Infused: Mix in dried oregano or thyme with the breadcrumbs to infuse an aromatic layer of flavor into your olives.
-
Cheesy Delight: Shred some Parmesan cheese and combine it with the breadcrumbs for a cheesy, savory crust that takes these olives to the next level.
-
Gluten-Free: Swap the flour and panko for almond flour and crushed gluten-free crackers to enjoy the same savory crunch without the gluten.
-
Mediterranean Twist: Instead of pimento-stuffed olives, use kalamata or green olives for a more robust Mediterranean flavor profile that shines.
-
Zesty Aioli Upgrade: Incorporate a bit of sriracha or hot sauce into the garlic aioli for a creamy dip with a wonderful zing.
-
Sweet Heat: Try adding a tablespoon of honey to the aioli for a sweet contrast that balances beautifully with the salty olives.
-
Veggie Version: Replace the olives entirely with small zucchini or eggplant balls for a vegetarian-friendly option that’s just as delightful!
Tips for the Best Fried Olives
-
Use Fresh Olives: Choose high-quality, fresh small pimento stuffed olives to ensure the best flavor in your fried olives.
-
Heat the Oil Properly: Always check the oil temperature with a thermometer; too hot, and the olives will burn; too cold, and they’ll absorb excess oil.
-
Achieve Even Coating: Make sure your olives are thoroughly coated in flour and breadcrumbs—this crucial step guarantees a uniform, crispy crust.
-
Fry in Batches: To avoid overcrowding, fry the olives in small batches, which helps maintain the oil temperature for even frying.
-
Serve Immediately: Fried olives are best enjoyed fresh out of the oil, serving them warm alongside the garlic aioli for maximum crispy delight!
-
Adjust Garlic to Taste: If you’re a garlic lover, feel free to increase the minced garlic for a more robust flavor in your garlic aioli when serving the fried olives.

Fried Olives with Garlic Aioli Recipe FAQs
What type of olives should I use for frying?
Absolutely, using small pimento-stuffed olives is your best bet! Their briny flavor beautifully contrasts the crisp coating, making every bite utterly delicious. You can also experiment with other types of olives, like Kalamata or green olives, but ensure they are well-drained beforehand.
How should I store leftover fried olives?
If you have some fried olives left, you can store them in an airtight container in the fridge for up to 3 days. However, to maintain their crispiness, I recommend reheating them in the oven at 350°F for about 10 minutes. Avoid the microwave if you want to keep that delightful crunch!
Can I freeze fried olives?
For sure! You can freeze uncoated, uncooked olives for up to 1 month. Just dry them off completely, then store in a freezer bag. When you’re ready to fry, thaw the olives in the fridge, then dredge, coat, and fry as usual for a fresh-tasting snack!
What if my coating isn’t sticking to the olives?
No worries! If the coating isn’t adhering properly, ensure that the olives are dried well before dredging. Start by rolling the olives in flour, making sure to shake off any excess, then dip them into the beaten egg to create a good base for the panko breadcrumbs. A light shake can help create that perfect crust!
Are fried olives safe for my pets?
While olives themselves are safe for dogs in moderation, fried olives can be high in fat and salt, which isn’t ideal for your furry friends. It’s best to stick to plain olives if you want to share a treat with your pets, as fried foods can lead to an upset stomach.
What can I serve with my fried olives?
The more the merrier! Fried olives pair wonderfully with the garlic aioli, but you can also serve them with various dips such as tzatziki or marinara. They make a fantastic addition to a charcuterie board, alongside cheeses, cured meats, and crusty bread for a delightful sharing platter!
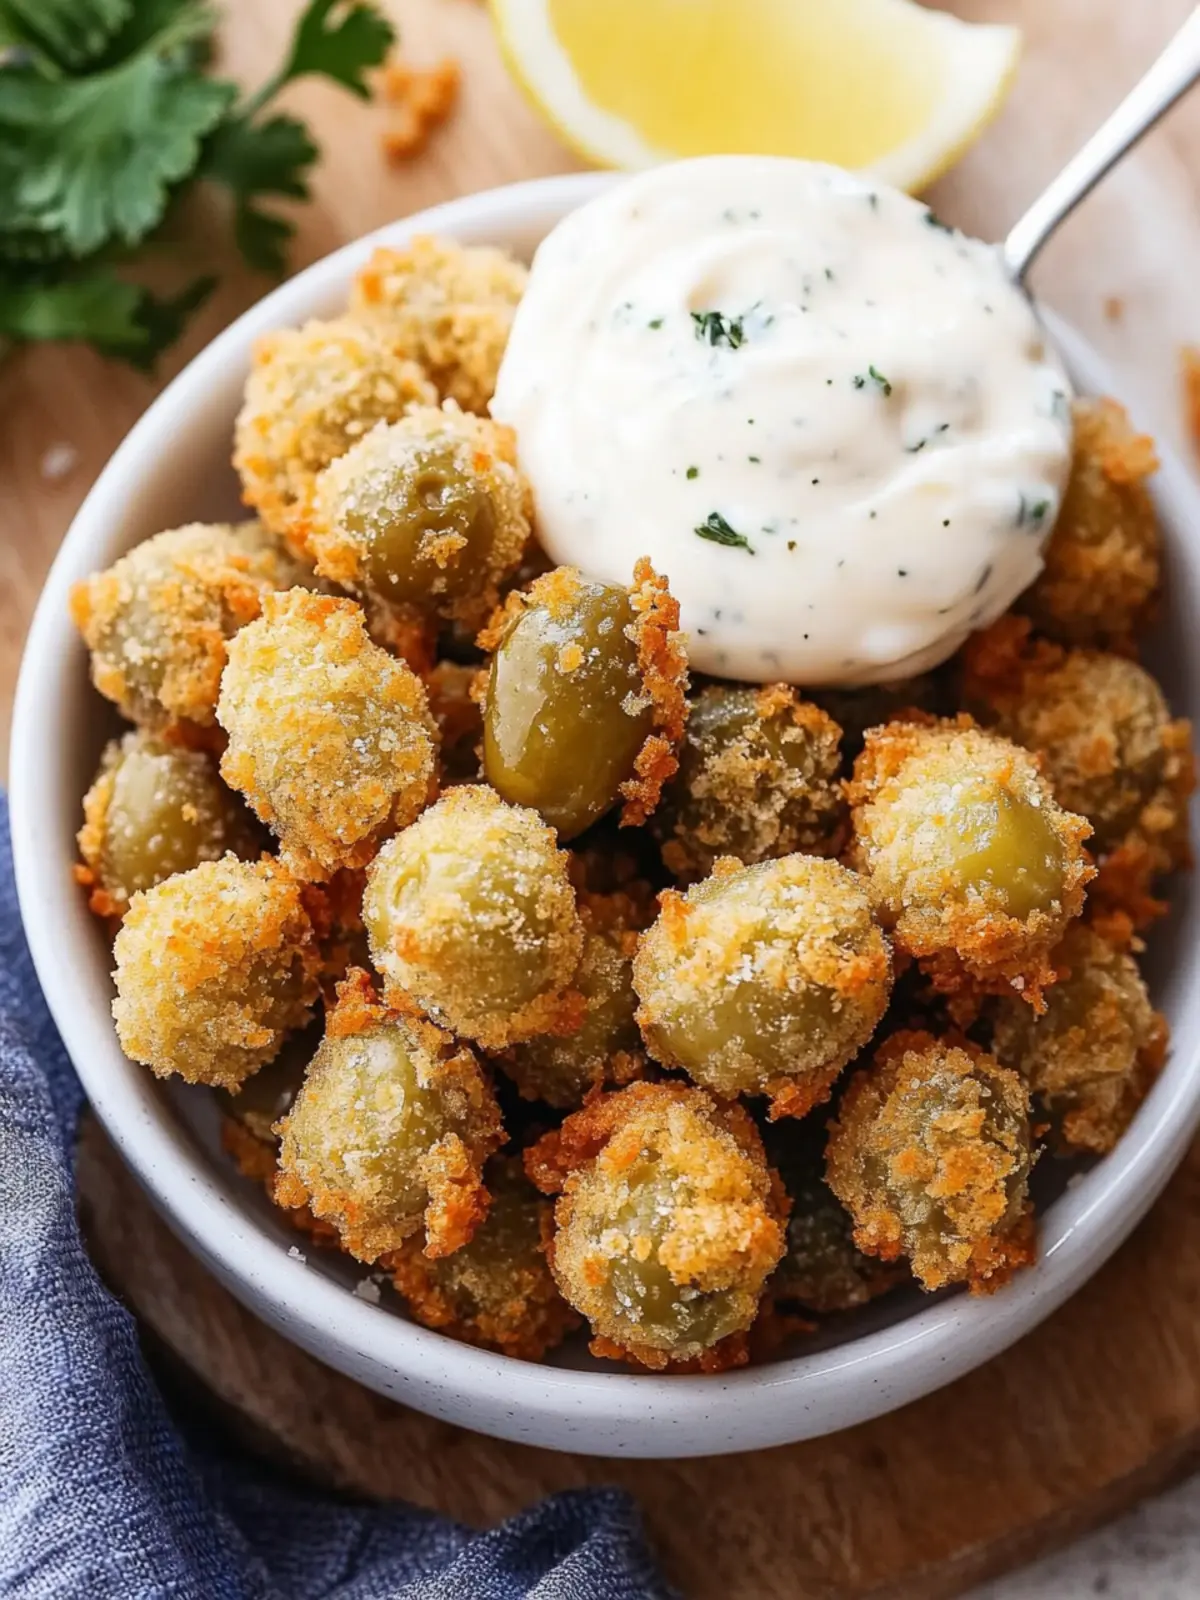
Crispy Fried Olives with Garlic Aioli for Flavor Lovers
Ingredients
Equipment
Method
- In a bowl, mix the mayonnaise, lemon juice, minced garlic, and a pinch of salt and pepper. Stir until smooth, then chill in the refrigerator until ready to serve.
- Pour a couple of inches of canola oil into a dutch oven. Heat it over medium-high heat until it reaches 325-350°F on a thermometer.
- Arrange the flour and panko breadcrumbs on flat plates. Pour the beaten egg into a small bowl, creating an assembly line for easy coating.
- Take each olive and roll it first in the flour, then dip it into the beaten egg.
- Gently roll the egg-coated olives in panko breadcrumbs, ensuring they're evenly coated.
- Working in small batches, carefully place the coated olives into the hot oil. Fry them for about 2-3 minutes or until golden brown.
- Once golden, use a slotted spoon to transfer the fried olives to a paper towel-lined plate.
- Arrange the fried olives on a platter and serve immediately with the chilled garlic aioli for dipping.